Mastering The Clamp Meter: A Step-by-Step Guide
The clamp meter is one of the most valuable tool for electricians, technicians, and DIYers alike when working with electrical systems. Their importance stems from the ability for you to measure current safely without having to physically disconnect a circuit. However, in order to take full advantage of its amenities, it is necessary to understand how to properly utilize it. Luckily for you, we've created this guide to walk you through how to properly hook up and use a clamp meter for accurate and safe readings.
What Is a Clamp Meter?
A clamp meter is a specialized electrical tool used to measure current flowing through a conductor without making direct contact with the live wire. This is made possible by clamping the meter around the wire, which senses the magnetic field generated by the current flow. Most modern clamp meters can also measure voltage, resistance, and continuity, making them multifunctional.
Step-by-Step Guide: How to Hook Up and Use a Clamp Meter
Step 1: Choose the Right Clamp Meter

Before starting, ensure you are using a clamp meter suitable for the job. Most clamp meters measure AC (alternating current), but some models can also measure DC (direct current). Make sure your clamp meter has the functionality needed for your specific task, such as measuring high or low current, voltage, or resistance.
Step 2: Understand the Dial Settings
Before hooking up the clamp meter, familiarize yourself with its settings. Most clamp meters have a dial that allows you to select what you’re measuring:
- A (Amps): To measure current.
- V (Volts): To measure voltage.
- Ω (Ohms): To measure resistance.
Some meters may also have additional features such as continuity testing or diode testing.
Step 3: Set the Clamp Meter to the Correct Mode
Turn the dial to the appropriate setting based on what you want to measure. For current measurement, set the dial to A for amperage (current). If your meter allows it, choose between AC or DC based on the type of current you are measuring. AC is common in household and industrial electrical systems, while DC is used in batteries or solar setups.
Step 4: Prepare the Circuit
Make sure you’re ready to measure the current in a live circuit. Important: Only use the clamp meter on a single conductor (one wire) at a time. Do not clamp around multiple wires, as this will affect the accuracy of your reading and can lead to unsafe conditions.
- Safety Tip: Always ensure that the wire you are testing is accessible, and wear protective gear if necessary.
Step 5: Clamp Around the Live Conductor
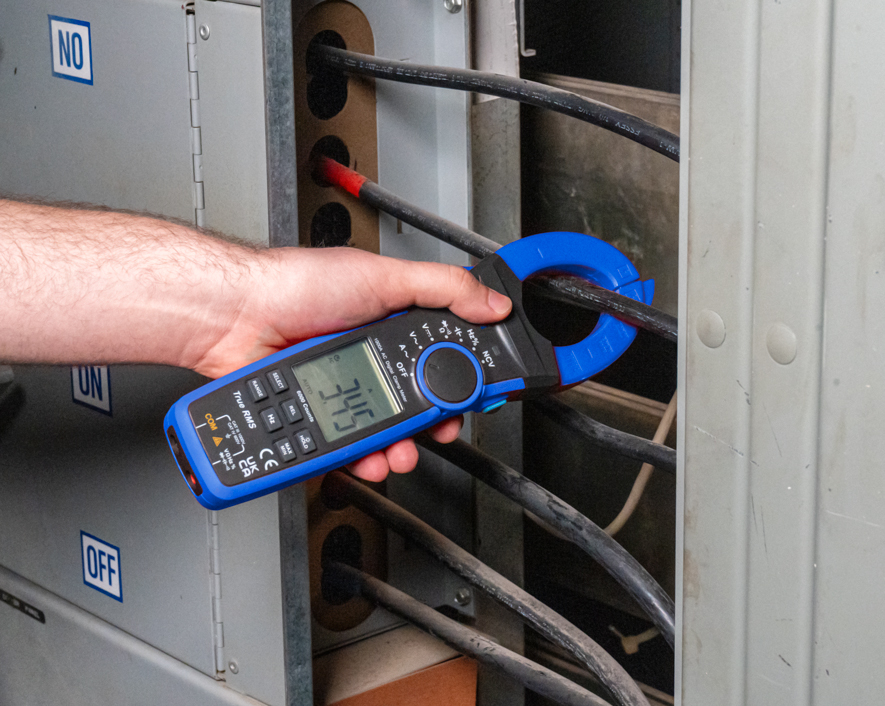
Once you’ve located the wire or conductor whose current you want to measure, open the jaws of the clamp meter by pressing the lever. Position the clamp around the wire and release the lever to close the jaws securely around the conductor.
- Note: The clamp meter should only be clamped around one wire at a time, not around a bundle of wires. This ensures the meter detects the magnetic field generated by the current in that specific wire.
Step 6: Take the Reading
Once the clamp is in place, the meter will display the current flowing through the wire on its screen. Allow a moment for the reading to stabilize, especially if you are measuring fluctuating current. If the current is too high for the setting you chose, the meter will indicate this, and you’ll need to switch to a higher setting (if applicable).
Step 7: Measure Voltage (Optional)
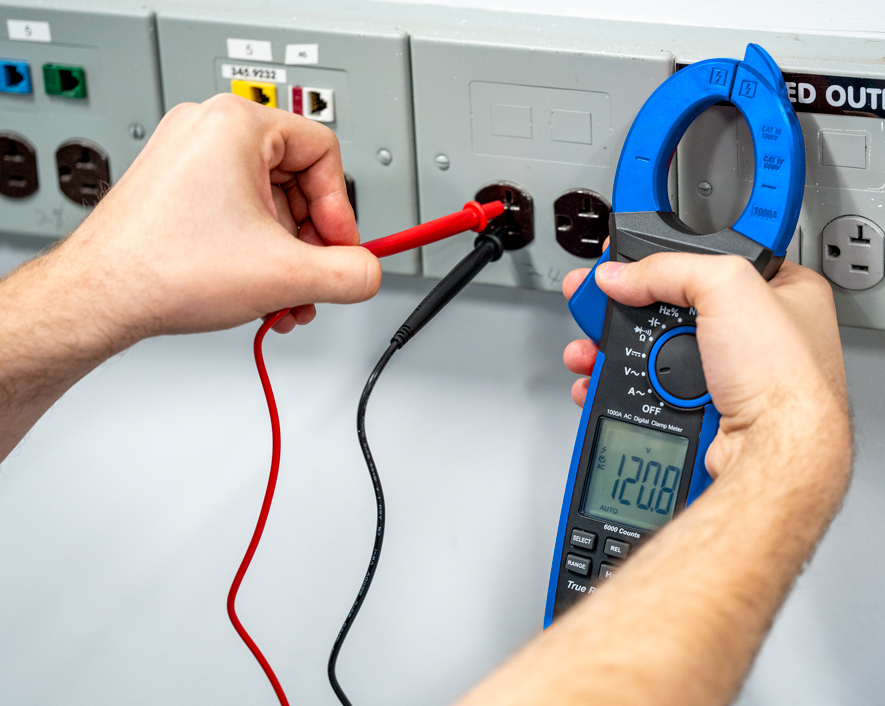
If you need to measure voltage in addition to current, switch the clamp meter’s dial to V for voltage measurement. Insert the meter’s test leads into the meter’s ports, and then place the black (COM) probe on the neutral or ground wire and the red probe on the live wire. The meter will display the voltage.
Step 8: Turn Off and Store
Once you have finished taking your readings, remove the clamp from the conductor and turn off the meter. Storing your clamp meter properly when not in use will extend its life. Avoid leaving it in damp or extremely hot environments, and always clean the meter after use to remove dust and debris.
Why a Clamp Meter Is Useful
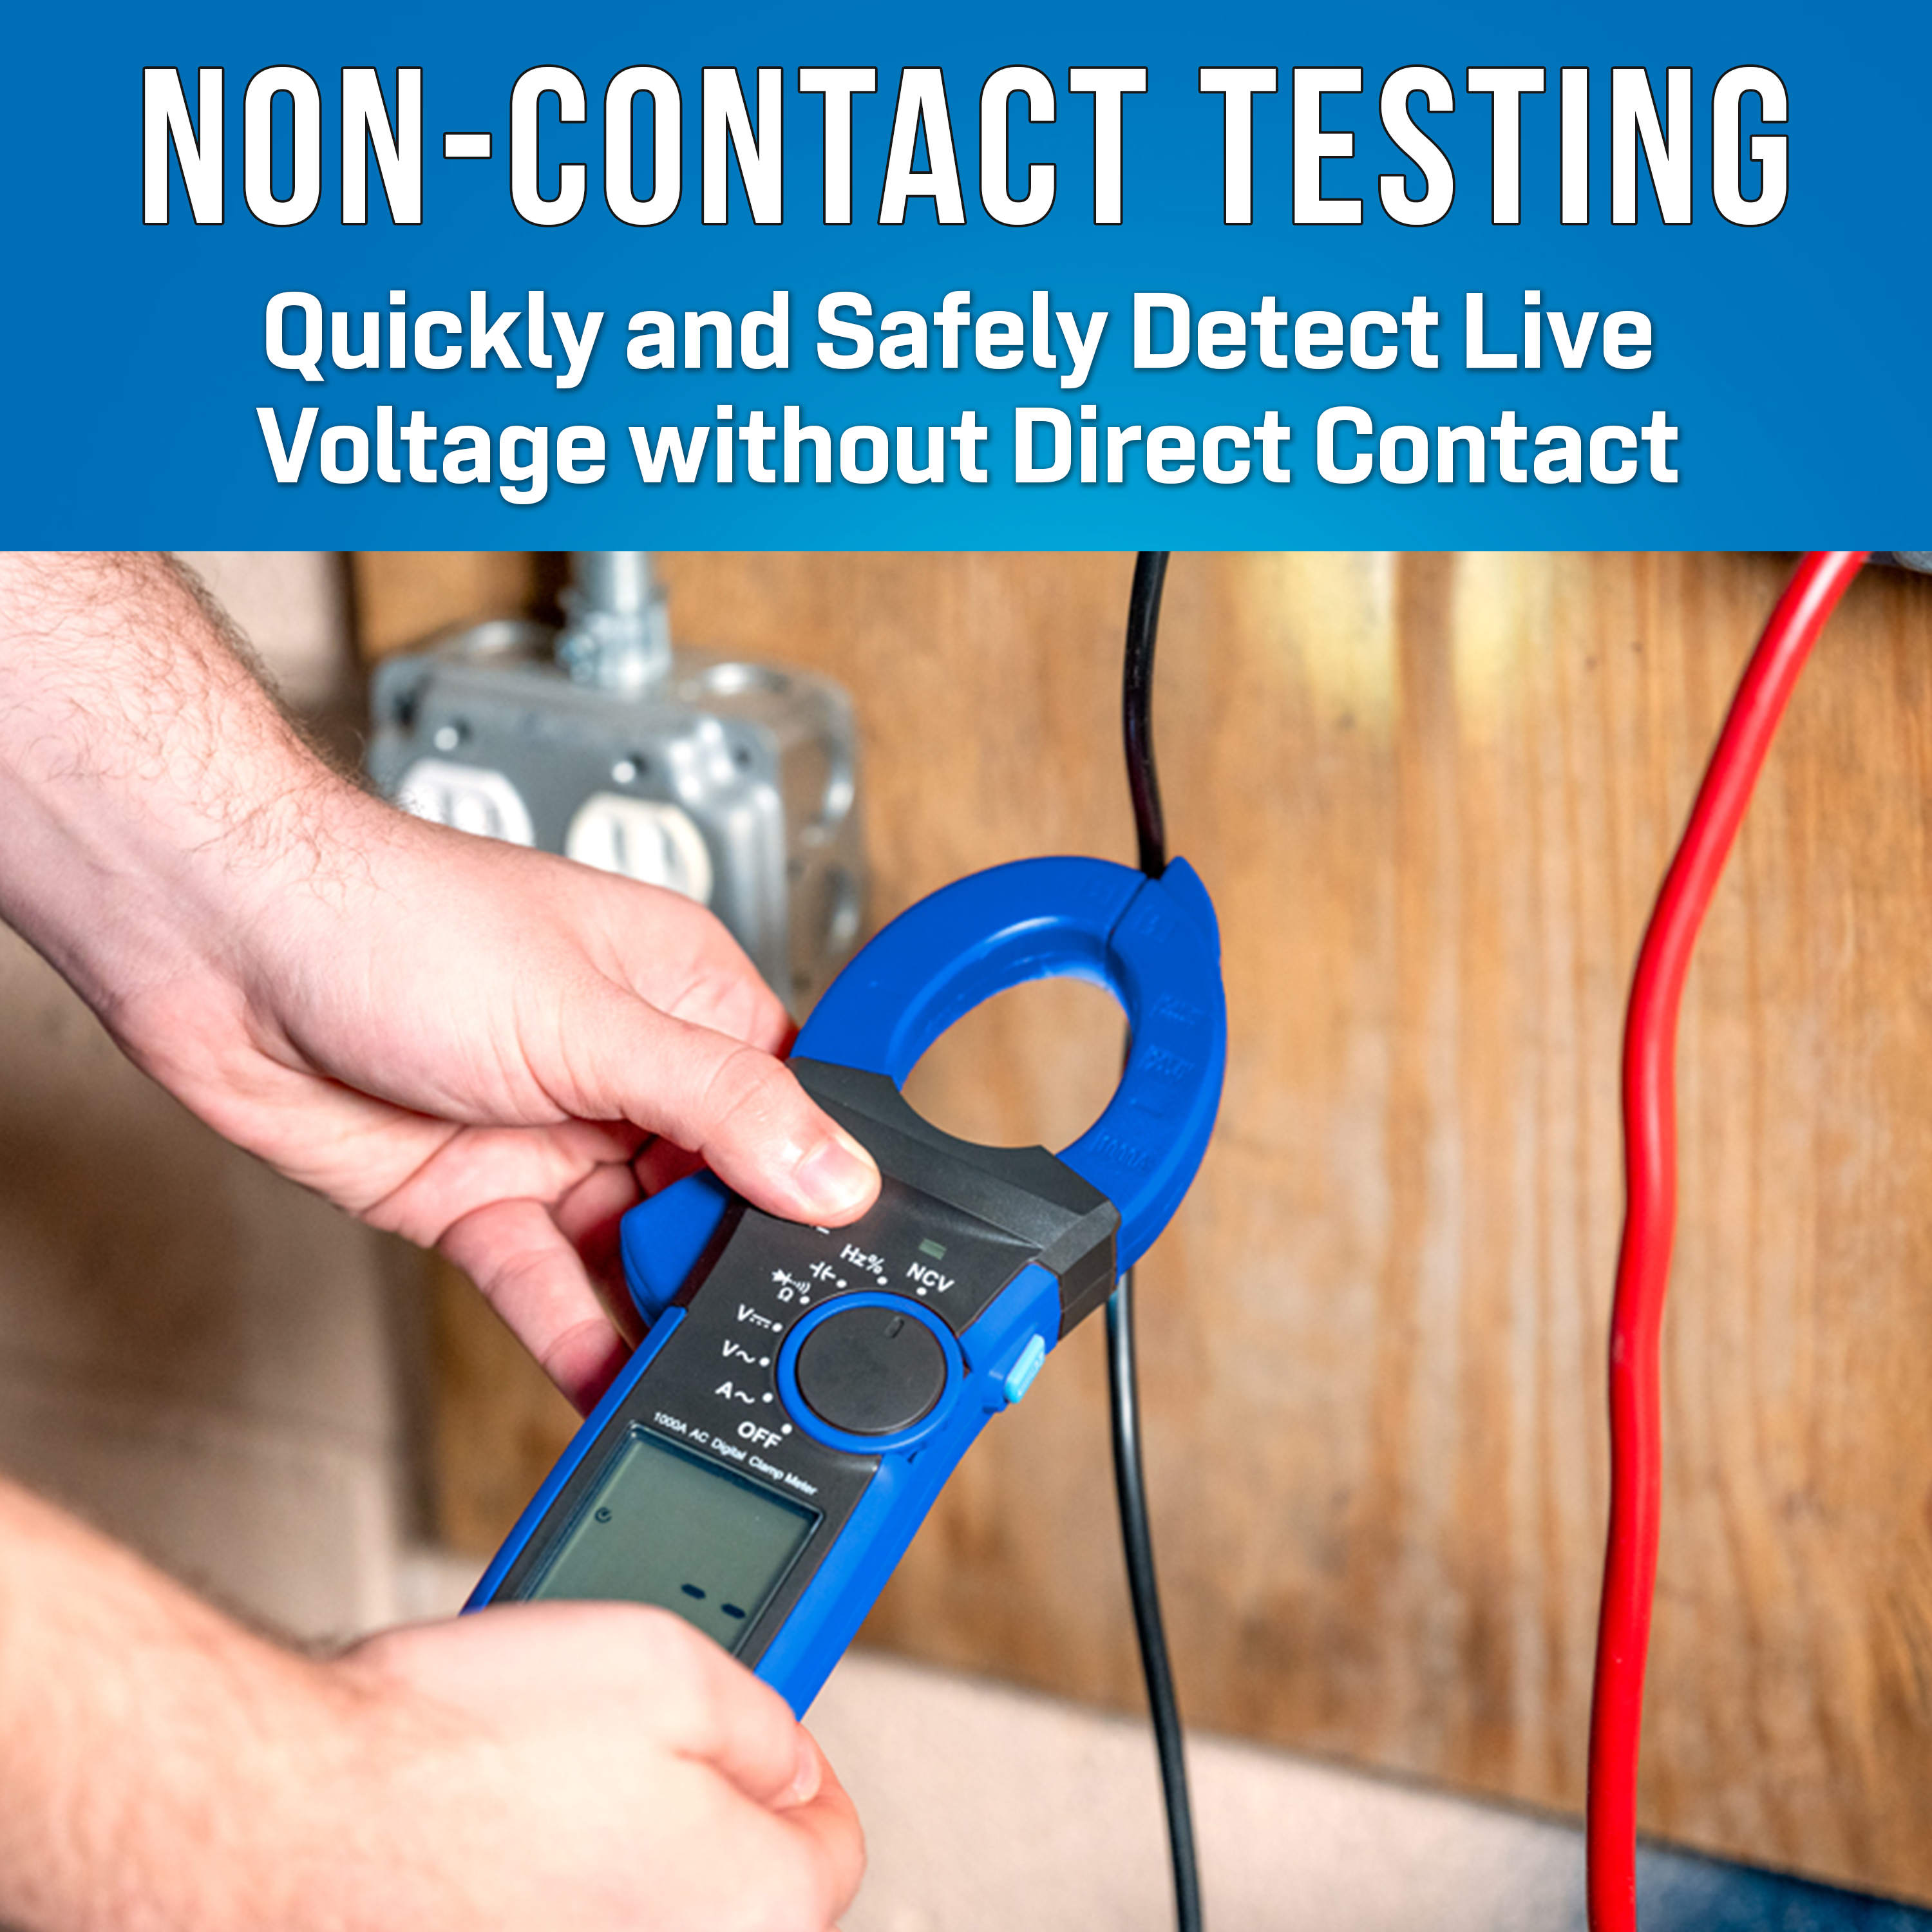
A clamp meter allows you to safely measure electrical current without making physical contact with live wires, reducing the risk of electrical shock. Unlike traditional multimeters, which require you to break the circuit, clamp meters let you measure current by simply clamping around a single wire. This makes them especially useful for troubleshooting and maintenance in live electrical systems, such as in industrial machinery, HVAC units, and electrical panels.
Conclusion
Using a clamp meter correctly can help you measure current quickly, safely, and accurately. By following these steps, you’ll be able to hook up and use your clamp meter with confidence, whether you’re working in a professional setting or doing home electrical work. Always ensure you follow safety protocols and use the correct settings for your measurements. With practice, you’ll find that the clamp meter is an essential tool for electrical diagnostics and troubleshooting.
Comments
Login or Register to post comments.