Fiber Optic Splicing: A Complete Guide
In the ever-evolving world of high-speed connectivity, fiber optic technology serves as the backbone of modern communication networks. From massive data centers to residential broadband installations, fiber optics deliver unmatched bandwidth and reliability. But as reliable as these systems are, cables still need to be repaired or extended from time to time. That’s where splicing comes in—and knowing how to properly splice a fiber optic cable is a critical skill for any technician.
Splicing allows you to restore or expand fiber networks while maintaining signal integrity. When done right, splicing ensures minimal loss and long-lasting performance. When done poorly, it can lead to significant signal degradation, network downtime, and costly rework. This guide will walk you through the complete process of fiber optic splicing—covering each step in detail so you can deliver a clean, professional splice every time.
Step 1: Understand the Two Types of Splicing
Before jumping into the physical steps, it’s important to understand the two primary methods of fiber splicing: fusion splicing and mechanical splicing. Fusion splicing is the most common and permanent method, where two fiber ends are fused together using heat, typically from an electric arc. This method provides the lowest signal loss and is ideal for long-term or high-performance applications. Mechanical splicing, on the other hand, involves aligning the fiber ends inside a sleeve or housing without actually melting them together. While it’s faster and requires less equipment, it generally results in higher loss and is better suited for temporary fixes. In this guide, we’ll focus on fusion splicing, as it’s the industry standard for high-quality, long-lasting connections.
Step 2: Gather the Right Tools and Safety Gear
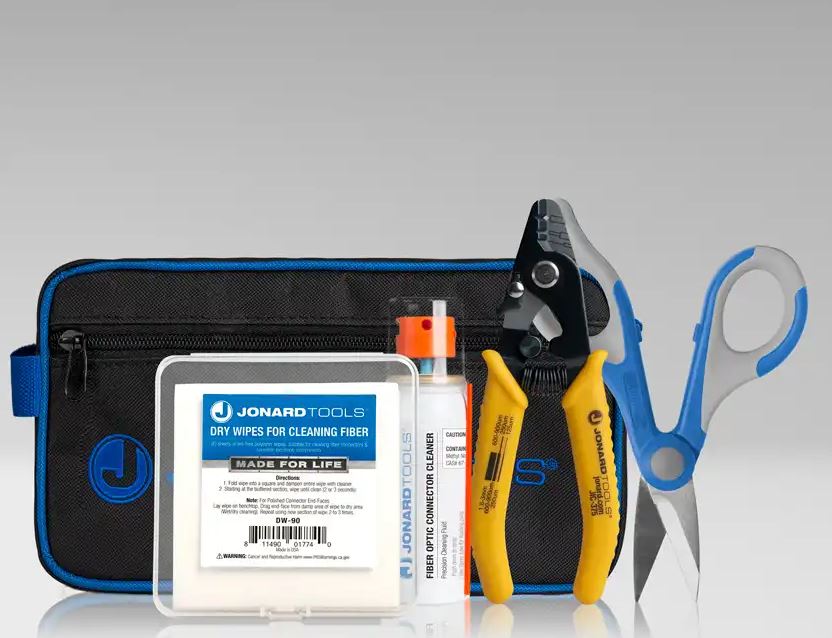
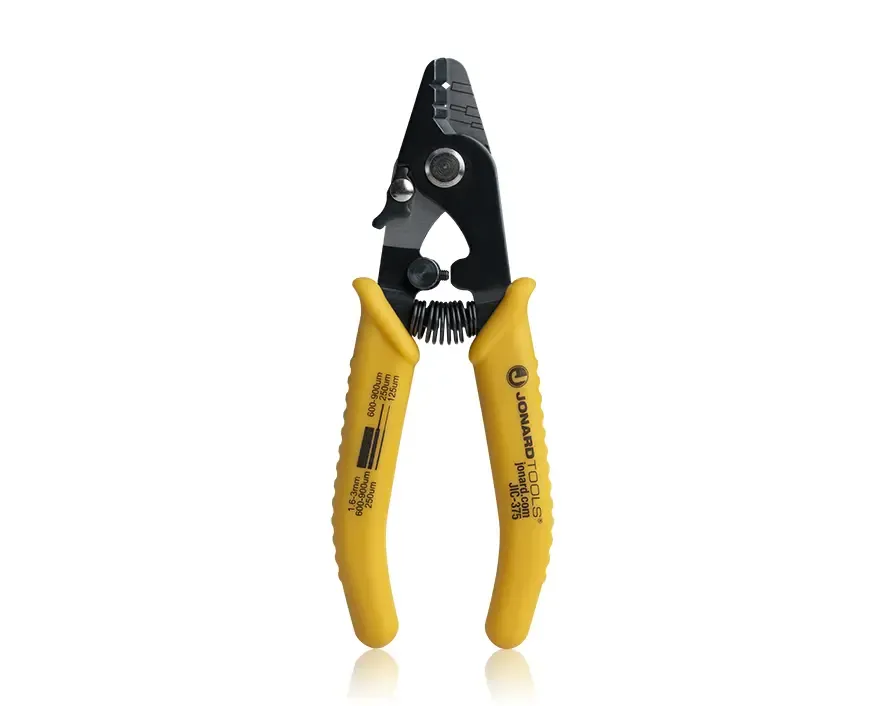
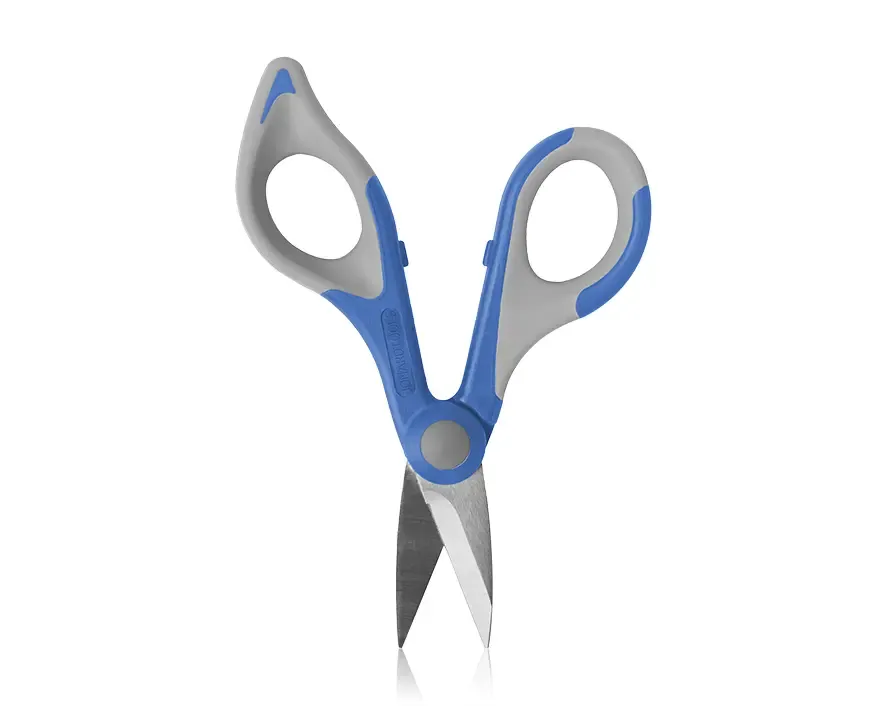
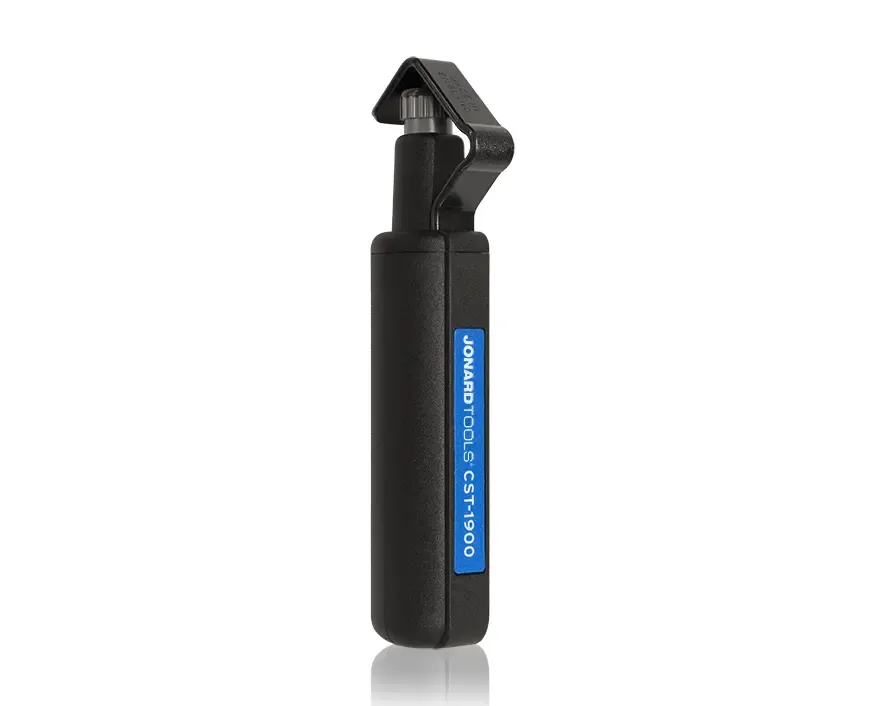
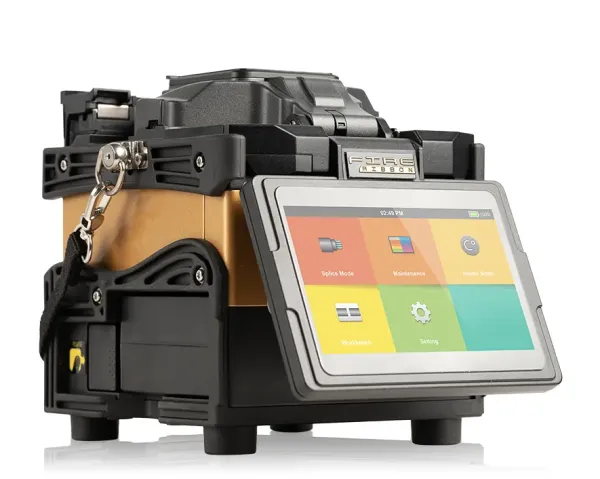
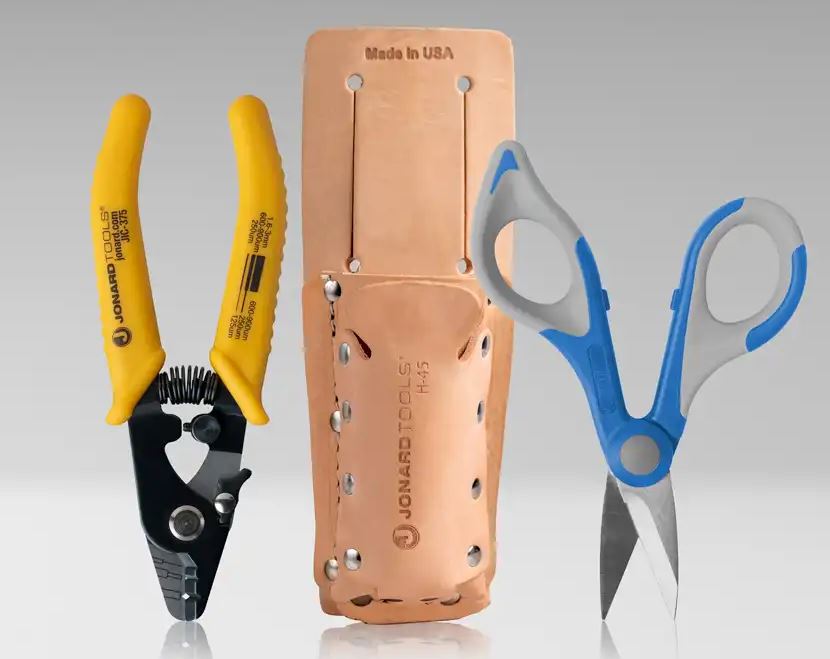
Having the right tools and protective gear is essential for a successful splice. You’ll need a fiber optic stripper, a kevlar cutter, a high-precision cleaver, a fusion splicer, fiber cleaning supplies (like lint-free wipes and isopropyl alcohol), and heat shrink sleeves with an oven to seal the splice. You’ll also want a visual fault locator (VFL) or an optical time-domain reflectometer (OTDR) for testing your work. Don’t forget to wear safety glasses to protect your eyes from fiber shards. Using professional-grade tools ensures accuracy, efficiency, and safety throughout the process.
Step 3: Prepare the Cable for Splicing
Begin by carefully removing the cable’s outer jacket, strength members, and buffer tubes using a fiber optic stripper until the bare fiber is exposed. Use a reliable kevlar cutter to remove any stubborn kevlar. Remember to only strip as much as necessary—exposing too much fiber can increase the risk of breakage or contamination. Use a quality fiber stripper that won’t nick or damage the fiber itself. Once stripped, clean the bare fiber thoroughly with a lint-free wipe soaked in isopropyl alcohol. Any dirt, oil, or residue can compromise the splice quality, so take your time with this step and ensure everything is spotless.
Step 4: Cleave the Fiber Precisely
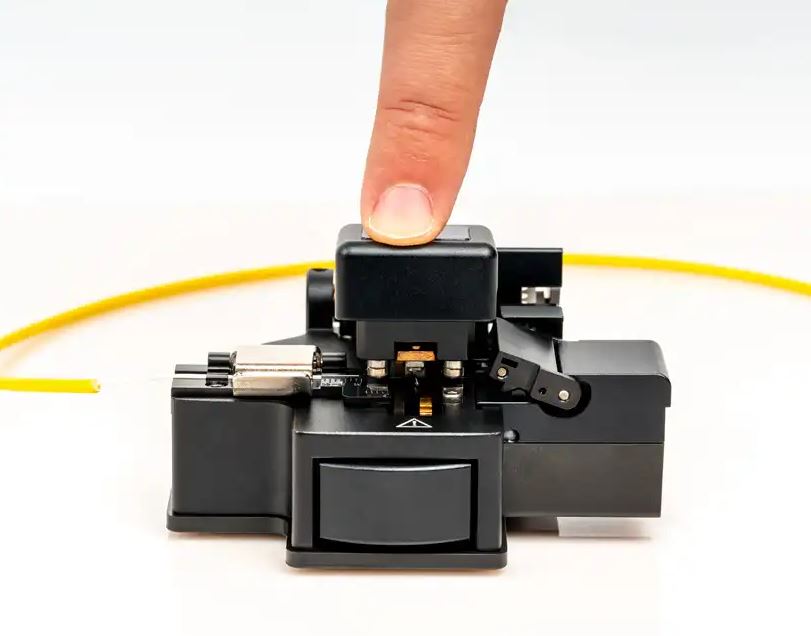
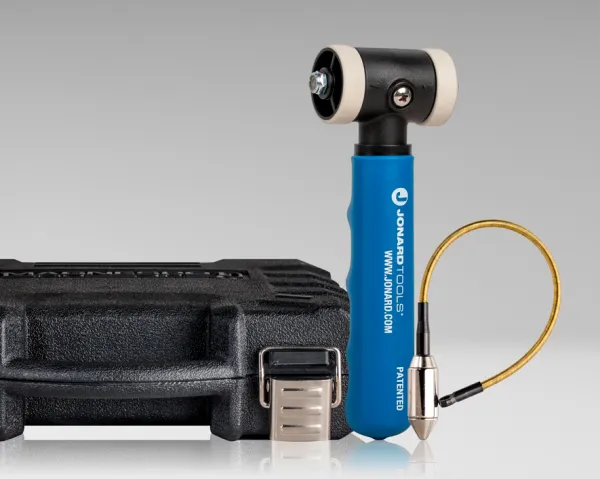
A precise cleave is one of the most critical parts of the entire process. Using a high-precision cleaver, you want to cut the fiber so that its end face is perfectly flat and perpendicular—ideally at a 90-degree angle. A poor cleave can lead to weak splices and higher signal loss. Once cleaved, avoid touching the fiber tips. Most modern splicers include a built-in inspection scope so you can verify the cleave quality before moving forward. If the cleave isn’t perfect, clean the fiber and try again. Never proceed with a flawed cut.
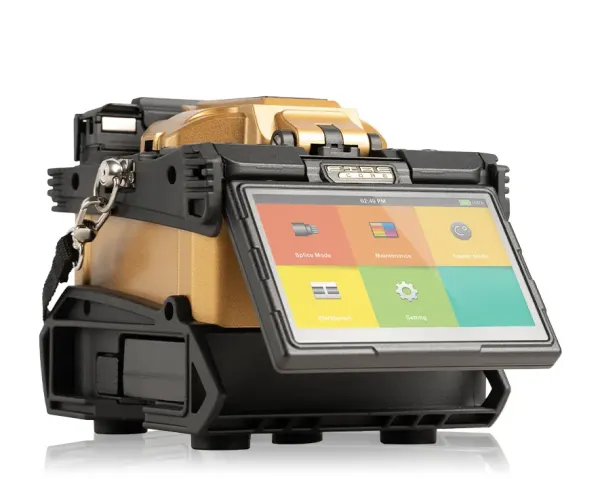
Step 5: Align and Splice the Fibers
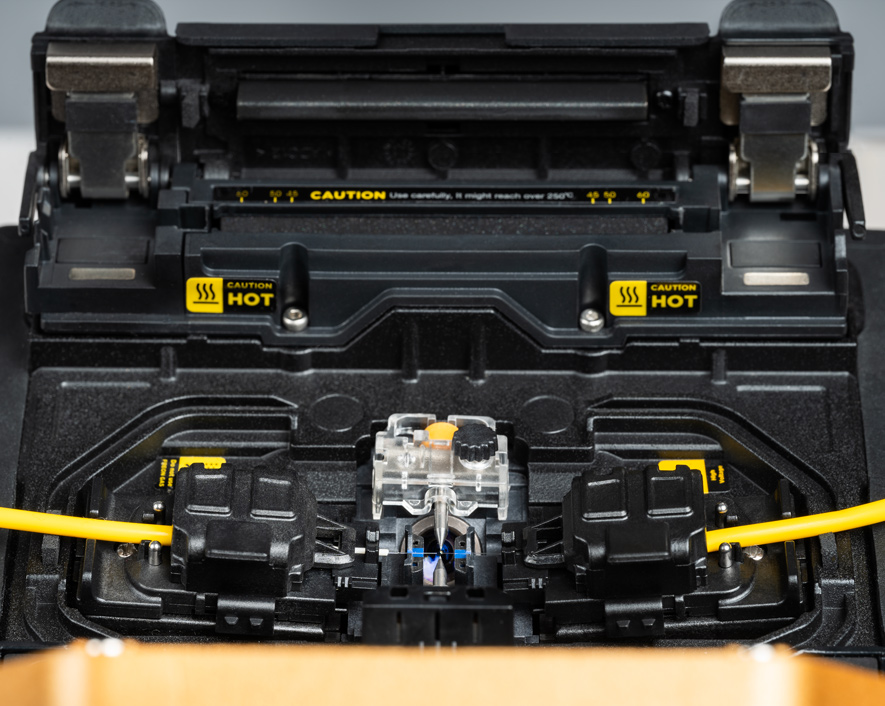
Next, insert the prepared fiber ends into the fusion splicer. The splicer will automatically align the cores—either using core alignment or cladding alignment technology—then perform a loss estimation before initiating the fusion arc. The electric arc heats the fiber ends and fuses them together, forming a single, continuous strand. The splicer will also run a tension or strength test once the splice is complete. For best results, work in an environment with minimal airflow to prevent disturbances during the fusion process, and make sure the splicer’s lenses and V-grooves are clean and free of debris.
Step 6: Test the Splice
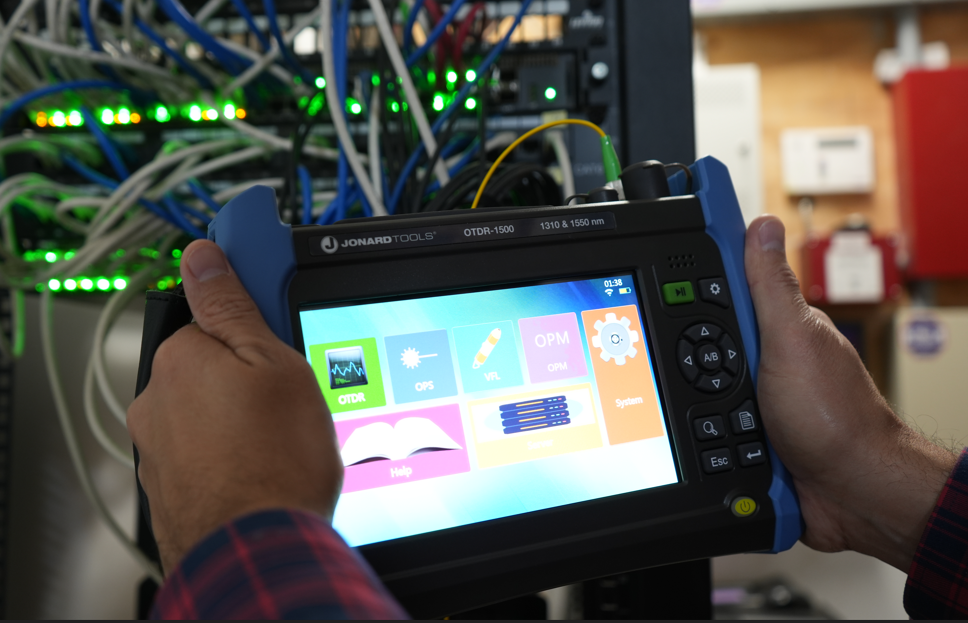
With the splice protected, it’s time to test the connection. Use a visual fault locator (VFL) for basic continuity checks or an OTDR for more detailed loss and reflectance measurements. A good fusion splice typically has an insertion loss of less than 0.1 dB. Testing ensures your splice meets performance standards and that there are no weak points or hidden issues.
Conclusion
Splicing fiber optic cables is both a technical and precise process. The quality of your splice can significantly impact the performance and reliability of a network. By mastering each step—from preparation and cleaving to fusion and testing—you can ensure every splice is clean, strong, and optimized for peak performance. Like any skill, splicing improves with practice, patience, and the right tools. At Jonard Tools, we’re committed to supporting fiber technicians with the highest-quality tools designed for accuracy, safety, and long-term use. Whether you’re building a new network or maintaining an existing one, confidence in your splice begins with knowing how to do it right.
Comments
Login or Register to post comments.