COAX Cable Mapping Made Easy
Mon, 01/23/2023 - 14:30
As the North American Sales Director for Jonard Tools, I get many opportunities in my extensive travels and working trade shows to discuss various topics and issues with CATV technicians. One of my favorite topics that come up is cable mapping. Speaking with these technicians is truly amazing to me because, through these interactions, I can get a better understanding of how knowledgeable some are and discover how little novices know about this topic (and the various tools experienced technicians use).
When it comes to cable mapping tools, like every aspect of life, personal preference is the norm. I’ve encountered people who have told me they use a 9-volt battery with an LED to map their cable. I have also spoken with technicians who use a voltmeter to check continuity. While it is hard for me to understand the practicality of either of these options, they do work to a certain extent; that is if you don’t mind a lot of hiking back and forth between your cable ends. For example, picture a typical home today. Most people own more than one television; in fact, believe it or not, some homes can have as many as eight TVs. So, it would take quite a while to map or identify all the cable runs in a house using the two simple methods mentioned above, especially when the cable runs can easily end up looking like spaghetti if not organized properly during installation. Fortunately, there are other options and Jonard Tools offers two different solutions: the PT-300, Pocket Continuity Tester & Toner, and the CM-100, Cable Mapper Pro – either tool makes cable mapping and the location process quick and easy.
Jonard’s Cable Mapping Tools, The PT-300
I’ll begin with the PT-300. This is a simple two-piece tool that consists of a toner and a receiver. To locate the proper cable, you simply plug the PT-300 unit into the outlet or cable end being mapped. When you plug the tester into the outlet it will have a red light that either lights up or not. If no light comes on you are ready to locate your cable. If the red light comes on it is an indication that there is a short in the cable. If so, you need to eliminate the short before proceeding to the next step. The short can be caused by a splitter in the line, a cut cable, or a bad connector. If there is a splitter, you can locate your cable by removing it from the splitter. After clearing the short, remove the receiver (screwed into the bottom of the toner) and insert it into the other end of your cable (you might have to plug it into several different cables until you find the correct one). An audible tone will announce you have located your cable.
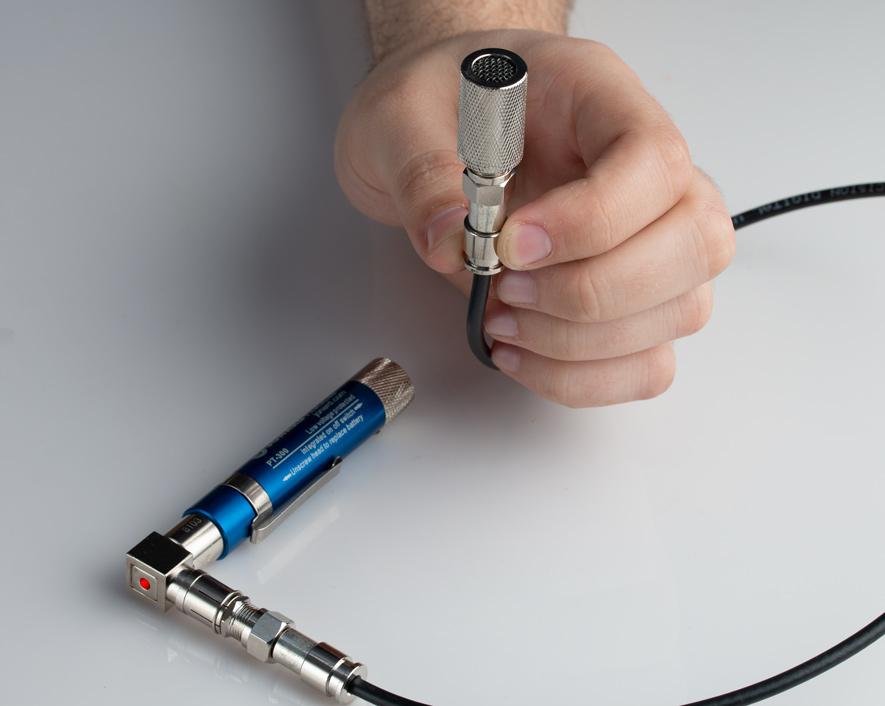
The PT-300 is simple to use and is the perfect tool when you only want to locate one cable run at a time. The Jonard PT-300 is the only tool on the market that features an on-and-off switch located at the bottom of the tool. The unit is turned on only when you unscrew the receiver off the main unit. It is also an inexpensive option and typically sells for around $20.00.
Jonard’s Cable Mapping Tools, Cable Mapper Pro
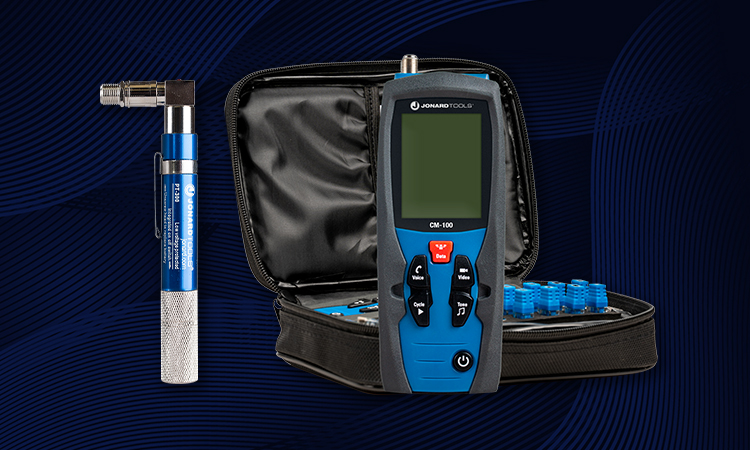
The CM-100 Cable Mapper Pro is one of my favorite tools. Think of it as eight PT-300 testers rolled into one tool, but it will work also work on network cables as well. It features 8 COAX Identifiers, 8 Network Cable Identifiers, 2 Data Patch Cords, Coax Patch Cord, Network Cable Remote, a Rugged Nylon Case, and 2 AA Batteries all packaged in a neat zip-up pouch. The CM-100 detects opens, shorts, mis-wires, and foreign voltage, and it also can be used as a tone generator.
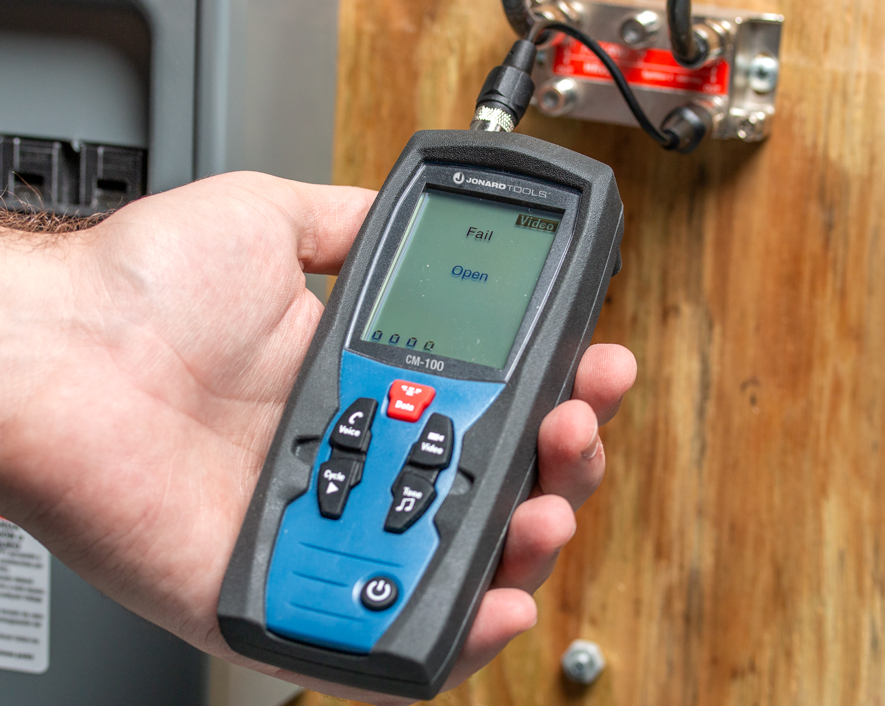
To use the CM-100, plug an identifier into the outlet or outlets in question. The only tricky part is remembering where you plug in each identifier. I recommend keeping notes so you can remember when you trace out the other end of your cables. Once you plug in your identifiers, go to the other end of your cables. This is typically in your basement or electrical / facilities closet. Plug the receiver into one of your cables and note if the word, “VOLT” is shown on the display. If so, remove the cable from the Cable Mapper and remove the voltage from the cable before proceeding. Once the voltage light is out and you are plugged into a cable end, press the “Video” button located on the front of the device. This is when all the action happens. At this point, you can get three separate notifications. You can get a “Fail Open” indication on the display which means there is no identifier hooked up to that cable or the cable is cut in half. You could get a “Fail Short” indication on the display which means the cable has a splitter in the line or the cable is damaged or has a bad connector.
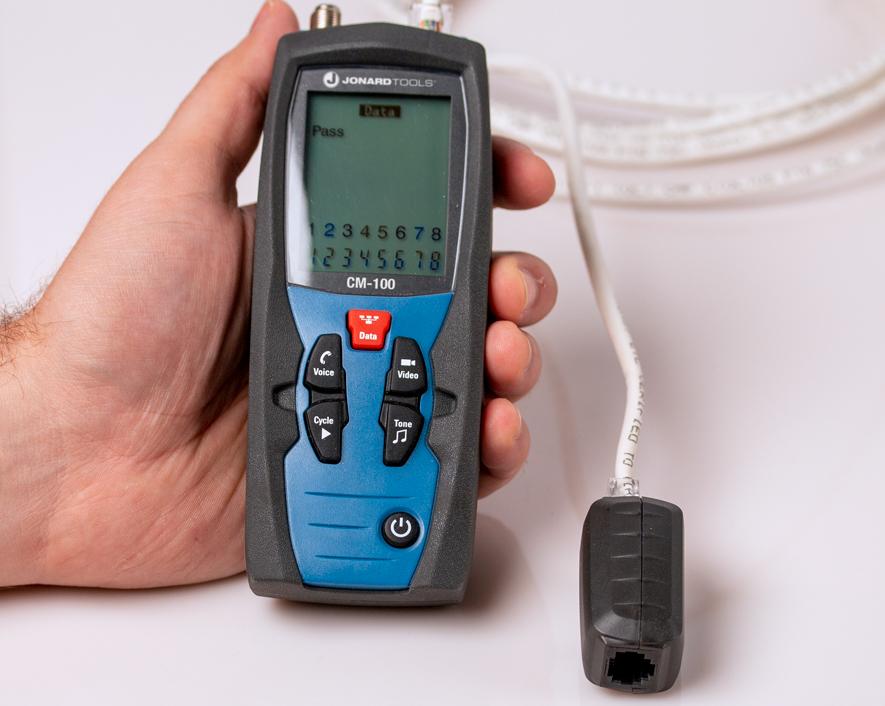
Lastly, you can get a “Pass ID (1-8) on the display meaning you have identified a cable with an identifier on it. Now you know which cable is which and you can continue the same process for all the cables. Just like that you can go through each cable and locate and label 8 cables at the same time. This is a huge time saver and saves you a lot of walking throughout the house or building you are working in. This, however, is just a small part of the CM-100's capability as it works on telephone cables, as well as network cables. Beyond identifying network cables, it will also let you know if the pairs are wired correctly. A real, handy feature.
Other Features of the Cable Mapper Pro
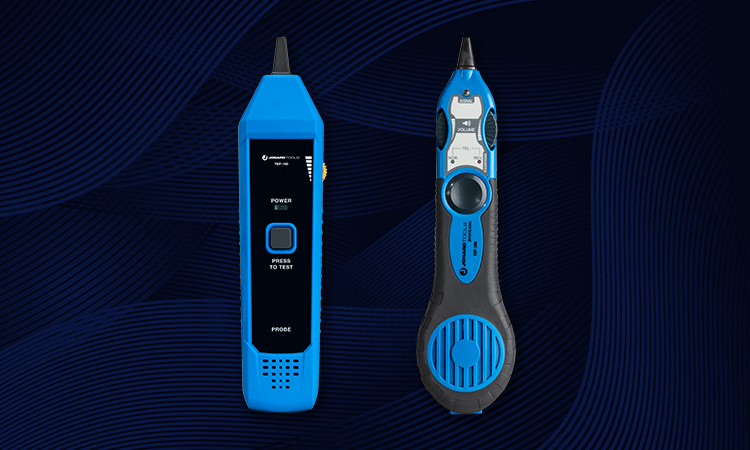
One other feature that I like about the CM-100 is its toning capability. If you have an open on the cable and are having trouble locating the other end, turn the “Tone” button on. This turns the CM-100 into a tone generator. Using a Jonard TEP-200, Tone Testing Probe+ or TEP-100, Tone Tracing Probe, or “receiver,” you can go back to the other end of your cable and trace the open. The CM-100 is quite the bang for your buck. It can be purchased for around $89.00 and is a necessity for today’s professional installer.
You can watch our YouTube demonstration videos for the PT-300 and the CM-100 to see these two products in action.
Written by Wayne Bunce, Jonard Tools Sales Director of North America
Comments
Login or Register to post comments.